Table of Contents
- 2.1. Introduction
- 2.2. System Design View
- 2.3. Component Development View
- 2.4. System Composition View
- 2.5. Tips and Tricks
The SmartMDSD Toolchain is based on Eclipse Modeling Tools and uses graphical and textual Domain Specific Languages (DSLs). It uses UML-profiles to implement the SmartSoft robotics meta-model SmartMARS and uses PapyrusUML for graphical modeling. Xtext is used for textual modeling. Additional assistants, validators, checks and glue-logic create the necessary bridges between the DSLs to achieve the overall workflow. Using other Eclipse plugins, e.g. CDT, the component developer can add business logic to the component and implement, for example, algorithms, glue code or reuse libraries. [4]
For running SmartSoft, you need the SmartSoft kernel and ACE. We recommend the script-based installation as described on the website.
To run the SmartMDSD Toolchain we recommend Ubuntu 12.04 LTS and Java OpenJDK 1.6.0_36. A minimum of 4GB RAM is required if you only use few components, but we recommend 6-8GB+ for large setups.
We recommend to install the latest version of the SmartMDSD Toolchain using the installation script. If you prefer to install it manually, follow these instructions:
# wget http://sourceforge.net/projects/smart-robotics/files/latest/download?source=directory
# tar -xzf SmartMDSD-toolchain-X.X.tag.gz
You can start the toolchain by double clicking the extracted binary "SmartMDSD-toolchain-X.X/eclipse" (prefered/standard method).
The development workflow is divided in modeling communication objects, modeling and implementing components and then using these components to integrate them by composition. The rest of this chapter follows this structure. For a complete description of the development workflow, please refer to [4].
After the script installation ACE is installed at $ACE_ROOT (typically /opt/ACE_wrappers) and SmartSoft is installed at $SMART_ROOT_ACE (typically $HOME/SOFTWARE/smartsoft). Existing SmartMDSD projects can be found at:
SmartSoft communication/coordination projects:
$SMART_ROOT_ACE/src/interfaceClasses/SmartSoft component projects:
$SMART_ROOT_ACE/src/components/SmartSoft deployment projects:
$SMART_ROOT_ACE/src/deployments/
The most convenient place to keep new SmartSoft communication/coordination projects is in the directories listed above. If you would like to store SmartSoft communication/coordination projects on an other directory add the following line to your ~/.profile file:
export SMART_PACKAGE_PATH=$SMART_PACKAGE_PATH:<EXTERNALDIRECTORY>
Thereby, <EXTERNALDIRECTORY> has to be replaced with the directory to the SmartSoft communication/coordination project.
For technical reasons at the moment, you cannot have SmartSoft projects in a directory-tree that leads to other SmartSoft projects. In other words, do not keep a SmartSoft project in a direct hierarchy of another project. Example: it is not allowed to have a SmartSoft Component project at ~/SOFTWARE/smartsoft/, because there are other projects in ~/SOFTWARE/smartsoft/src/components/. However, you are fine to keep your custom projects in ~/my_projects/ or ~/SOFTWARE/smartsoft/src/my_components/ or even ~/SOFTWARE/smartsoft/src/components/. For most cases, e.g. if you are using version control, you will not encounter this problem.
This section will give first time toolchain users an manual on how to set-up the toolchain efficiently.
Start the toolchain by double-clicking the eclipse-executable (recommended) or executing ./eclipse in a terminal within the directory it has been extracted to. The toolchain will need read and write permissions to all imported eclipse projects, therefore we recommend to start the toolchain with the same user that has checked out the SmartSoft repository / installed SmartSoft.
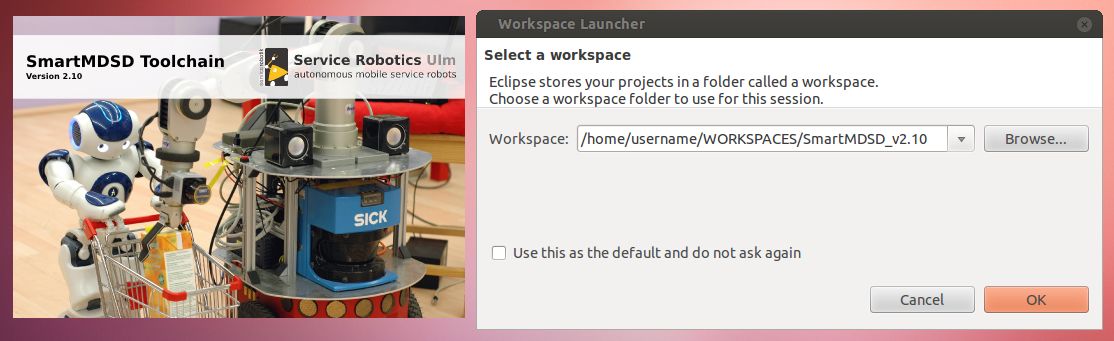
During start-up the toolchain splash will be displayed stating the version of the toolchain. As is normal for eclipse, the user is asked to select a workspace containing projects and settings. How to organize different workspaces is completely up to the user, in case you have no experience with Eclipse we recommend to keep the multiple workspaces concentrated in one directory e.g. ~/WORKSPACES.
Starting the toolchain for the first time, a new workspace location could for example be: /home/$USERNAME/WORKSPACES/SmartMDSD_v2.10. New directories will be created if necessary.
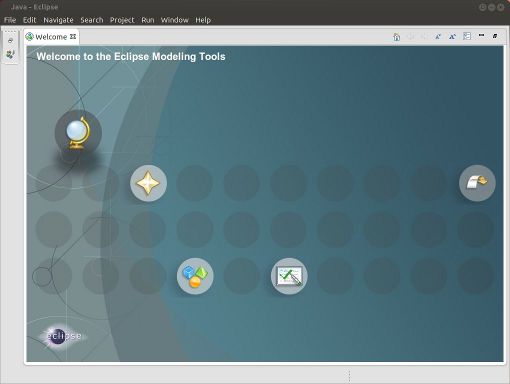
Once the toolchain is completely started and a new empty workspace has been created the "Welcome to the Eclipse Modeling Tools" window will be shown. Closing this inner window will set up the standard (java) eclipse interface.
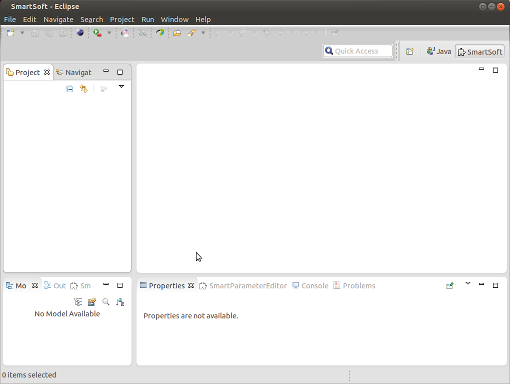
Eclipse features dedicated window arrangements called perspectives to support different task. The toolchain has its own perspective "SmartSoft". To use this perspective select in menu: Window->Open Perspective->Other... SmartSoft
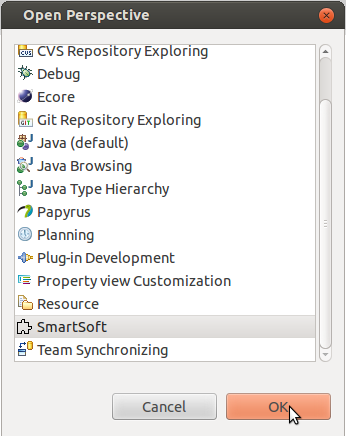 |
Figure 2.3. Select the SmartSoft perspective to set-up up eclipse for efficient SmartSoft modelling use.
Some toolchain projects make use of automatically triggered code generation, therefore it is necessary that eclipse is configured to build the projects in the workspace automatically. This setting is enabled by default, to ensure this the user can revisit the setting in the menu: Project->Build Automatically
Given this few steps the toolchain is ready to use. To make use of existing work (components, CommunicationObjects, deployments, etc.) a first step is to import those projects the user wants to reuse, into the workspace.
The different kind of toolchain projects (supporting different roles) depend on each other. Communication objects are wrapped in communication/coordination repository projects, they may depend on other projects of the same type, as communication objects can be nested. Component projects depend on communication/coordination repository projects as they are using communications objects to model the services a component features. Deployment projects depend on component projects as they are used to model a system consisting of components.
Dependent projects, e.g. a communication/coordination repository projects required by a component project, are not imported automatically. Therefor the user has to import all (direct and dependent) used projects.
Since the communication objects are the fundamental building blocks, their projects are typically the first thing to import.
To import projects into the workspace select in menu: File->Import. Within the Import dialog select: General->Existing Projects into Workspace continue with next and select the directory containing the projects to include e.g. /home/username/SOFTWARE/smartsoft/src/interfaceClasses. Eclipse will search recursively for projects from this directory on and will present a list of projects to import. In this example a list of all communication/coordination repository projects that are shipped within the smartsoft repo. Importing all existing communication/coordination repository projects into the workspace is in most cases a reasonable thing to do.
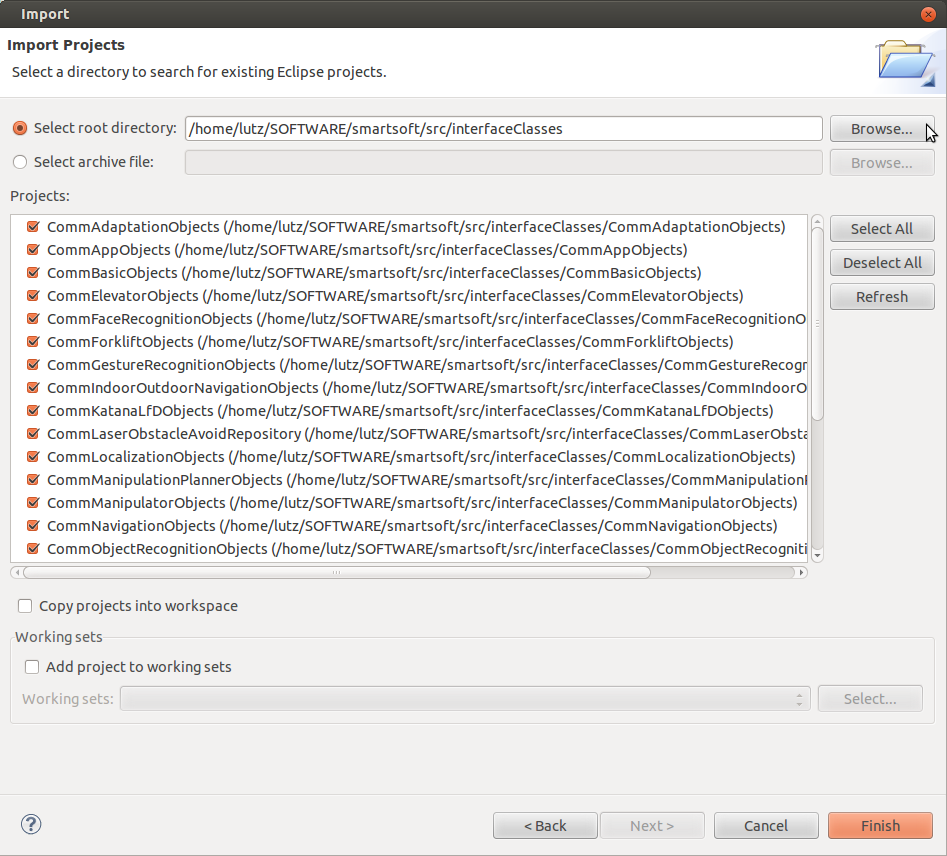 |
Figure 2.5. Import projects into the workspace, in this case communication/coordination repository projects projects.
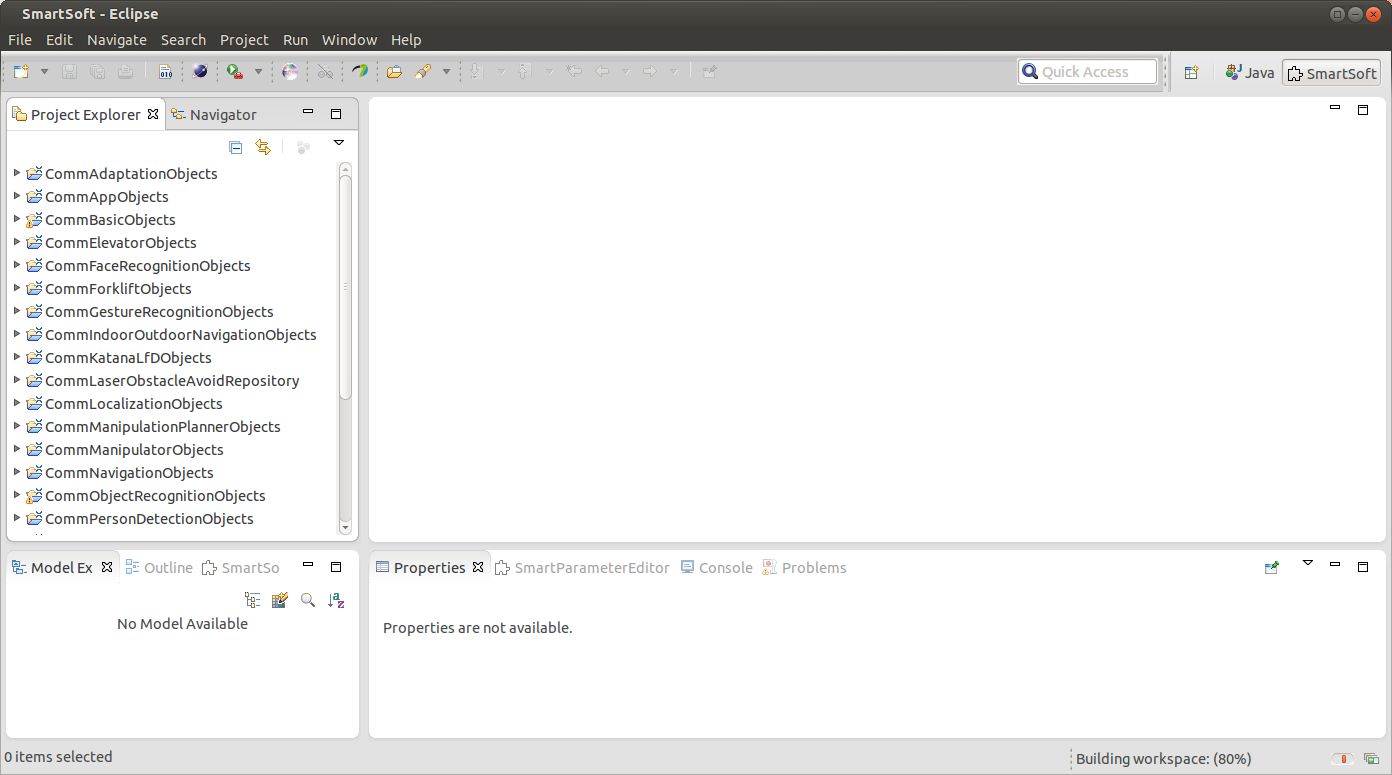
Once imported the toolchain starts building the projects (reading files and generating code in case the models have changed). The progress can be seen at the bottom right task bar of the toolchain. Other activities such as the C++ indexer for example are also displayed there.
It is important to note that building in this context is always related to eclipse projects and the models, not to the generated results (e.g. C++ code) so no C++ compiler will be triggered.
For components or deployment projects the same import procedure can be applied. How to use the imported projects and how to build new projects will be explained in the subsequent sections.
Communication objects, components and system configurations are Eclipse projects. The projects contain a model and source code which is generated from the model by a code generator. During code generation, files for generated code and handwritten code are created (using the generation-gap pattern which links user-code and generated-code by inheritance). The src-gen folder contains the generated code. These files must not be changed by the user, because they are regenerated each time the code generator is started. Therefore, changes to these files will be lost. Files for handwritten code are located in the src-folder. These files are generated once and provides method skeletons for user implementation. However, this means that the files have to be adjusted/deleted manually after renaming/ deleting the corresponding model element.
For automatic code generation and caching, make sure autobild is activated in the workspace. For that, choose Project->Build Automatically in eclipse. If autobild is enalbed, a check mark is shown in front of the menu entry "Build Automatically".
All folders and files of the projects except the folders "bin" and "build" should be commited. These folders contain files which are altered as soon as the project is opened in the toolchain. Therefore, it is not advisable to add these folders to the version control.